Installing ServiceTracker 5
How to install ServiceTracker 5 locally or on a LAN,Terminal Server or Citrix environment.
Requirements
1. ServiceTracker 5 Requires the Access 2007 FrameWork or Later (2010 ok) and Adobe Acrobat Reader 8.x or Later.
2. Installation Does NOT require a server / PC reboot if Access and Acrobat Reader are already installed.
3. The User installing ServiceTracker must have full Administrator Privilages
4. ServiceTracker 5 is NOT suitable for Peer 2 Peer Networks
5. Initally 50 meg of drive space is required. The database typically grows by around 10-15meg per year.
6. Scanned Documents will add to the overall disk space used.
Create a Directory for ServiceTracker 5
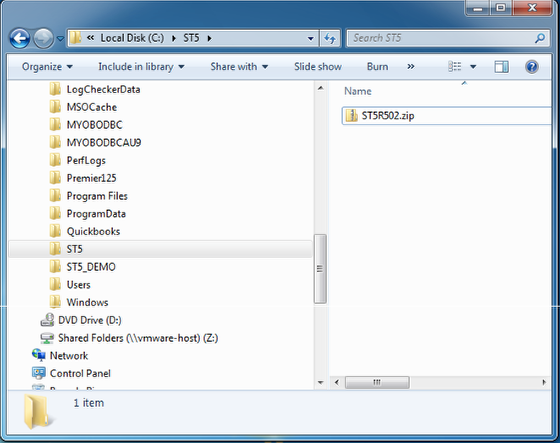
Create a directory for ServiceTracker called ST5. This folder will wholly contain the system including:
1. The Program
2. The Data File
3. Scanned Documents
4. Config Files
5. Support Documents
This should be as close to the root as possilbe to optimise Database Performance.
All users require FULL ADMINISITRATION privilages to this directory.
Terminal or Virtual Server
On a Terminal / Virtual Server where the ENTIRE sytem is backed up, use C:\ST5
Server
On A NAS or Server where typically only the DATA drive is backed up, use D:\ST5 where "D" is your data drive.
Unpacking the ZIP File
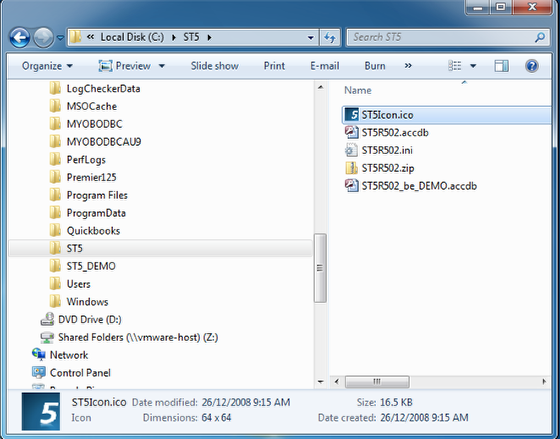
Save the ZIP file (such as ST5R500.zip ) to the ST5 folder.
Upack the contents.
The initial footprint of the system will be around 40meg. The database will grow by around 20 meg per year.
The total disk space will also be increased if the document scanning feature is utilised.
Create Directory Structures
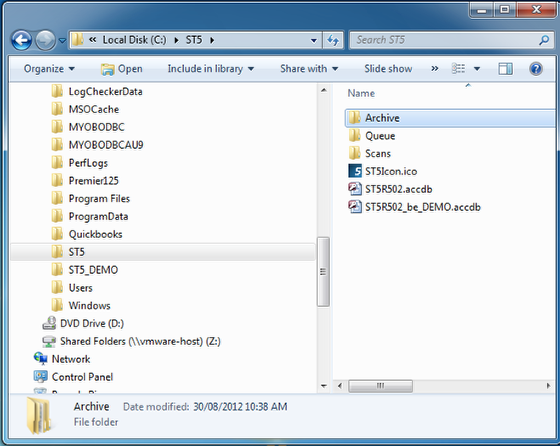
Create a Directory ...\ST5\Archive and move the Zip file into this directory.
Create a Directory: ..\ST5\Queue to store incoming scanned documents.
Create a Directory: ..\ST5\Scans to store processed scanned documents
Connecting the Database

Start ServiceTracker by double clicking on the file ST5.RXXX.accdb (in the above example ST5R502.accdb)
if prompted by MS Access "Action Failed, Stop All Macros" follow the "adding a trusted locaiton" here: Access 2007 - Adding A trusted Location
Locate the Database File
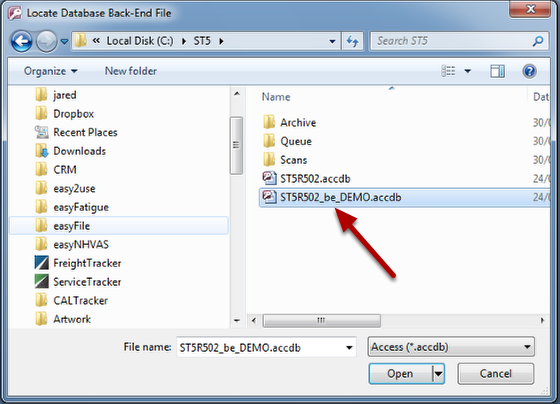
Browse to locate the back end file ST5RXXX_be_YOURCOMPANYNAME.accdb (in the above example ST5R502_be_DEMO)
Product Activation

When the Welcome screen loads, Click next to enter your system options and product activation code.
Please provide your business name an Product Key when contacting us for a new or replacement activation code.
For contact information regarding activation codes please visit servicetracker.com.au